Aerospace, Data Acquisition
How to Integrate Validyne Pressure Sensors With NI, LabVIEW & Dewesoft
Many pressure measurement applications rely on software ecosystems like NI LabVIEW, NI DAQ hardware, or Dewesoft acquisition systems. Validyne VR sensors integrate seamlessly into these environments — but successful integration starts with understanding signal conditioning and proper wiring. This guide covers what you need to know.
Why VR Sensors Require Signal Conditioning
VR transducers operate on AC excitation and output a low-level AC signal. That signal needs to be converted into a usable DC engineering value before it reaches your DAQ system. That’s the job of the signal conditioner.
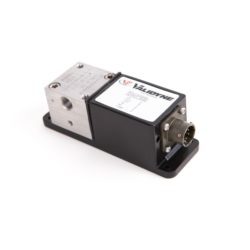
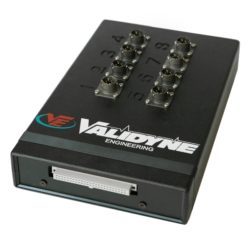
Validyne offers several options depending on your application:
- CD280 — general purpose, rack-mount
- CD23 — compact, single-channel
- CD15 — high-accuracy laboratory use
- CD379 — multi-channel configurations
All Validyne conditioners provide AC excitation, carrier demodulation, analog output filtering, zero/span adjustments, and a standard DC signal output ready for any DAQ input.
Connecting to NI DAQ Hardware
Wiring
Connect the conditioner’s DC output to any NI analog input channel (AI0, AI1, etc.) with a common ground reference. One important note: the Validyne DC output is single-ended relative to the – output terminal. If you’re wiring into a differential input on your DAQ system, you must tie the Validyne DC – output to signal ground — otherwise you’ll get a floating reference and unreliable readings.
Recommended NI Hardware
- NI USB-6000/6001 for basic single-channel setups
- NI cDAQ modules for multi-channel systems
- NI PXI systems for high-channel-count or aerospace test environments
- Any system accepting ±DC single-ended inputs
LabVIEW Configuration
- Install NI-DAQmx
- Create a DAQ Assistant block
- Select Analog Input → Voltage
- Set scale and offset based on your Validyne calibration sheet
- Apply digital filtering as needed for your environment
Connecting to Dewesoft
Dewesoft is a natural fit for Validyne sensors — its fast sampling rates, built-in filtering, graphical visualization tools, and custom math channels make it well-suited for dynamic pressure measurement applications.
Wiring is straightforward: connect the conditioner’s DC analog output to any Dewesoft DC analog input module.
Configuration steps:
- Set input type to DC Voltage
- Enter the calibration factor from your Validyne sheet (e.g., mV/psi or psi/V)
- Add a scaling channel
- Enable low-pass filtering if you’re operating in a noisy environment
Best Practices for Reliable Integration
Use shielded cable. Shielded cable significantly reduces EMI pickup, especially in test cell environments. Connect cable shields to earth ground — not signal ground.
Keep cable runs short. Longer runs increase resistance and introduce noise. Route cables as directly as possible between conditioner and DAQ input.
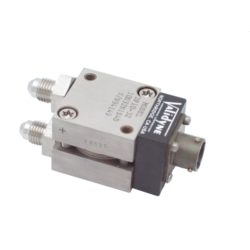
Match your diaphragm to your pressure range. A diaphragm that’s too stiff will reduce sensitivity and resolution. One that’s too thin will clip or saturate at your target pressure. When in doubt, consult Validyne’s diaphragm selection guide or contact our engineering team.
Always use a Validyne signal conditioner with Validyne VR sensors. VR sensors are designed around Validyne’s conditioning electronics. Third-party conditioners may not provide the correct excitation frequency or demodulation, leading to inaccurate output or sensor damage.
Integrating Validyne VR pressure sensors with NI DAQ, LabVIEW, or Dewesoft is straightforward when you have the right signal conditioning in place. Whether you’re running a university lab setup or a full aerospace test cell, VR technology delivers stable, accurate pressure data with the modern acquisition systems engineers already rely on.
Have questions about your specific setup?
Our engineering team is available to help you select the right conditioner, choose the correct diaphragm, and get your system configured correctly the first time. [Contact Validyne Engineering →]
Related posts

Aerospace, Pressure Measurement
Preventing Pressure Port Contamination – Best Practices for Long-Term Performance
Pressure port contamination is one of the most common — and preventable — causes of sensor failure. Dust, oil mist, particulates, biological debris, or corrosive materials entering the pressure ports…
Aerospace, Oil & Gas
How to Choose a Differential Pressure Sensor for Industrial Gas and Steam Monitoring
Industrial gas and steam systems require precise pressure measurement to ensure safe, efficient operation. These environments are challenging due to high temperatures, vibration, condensation, and corrosive media. Selecting the right…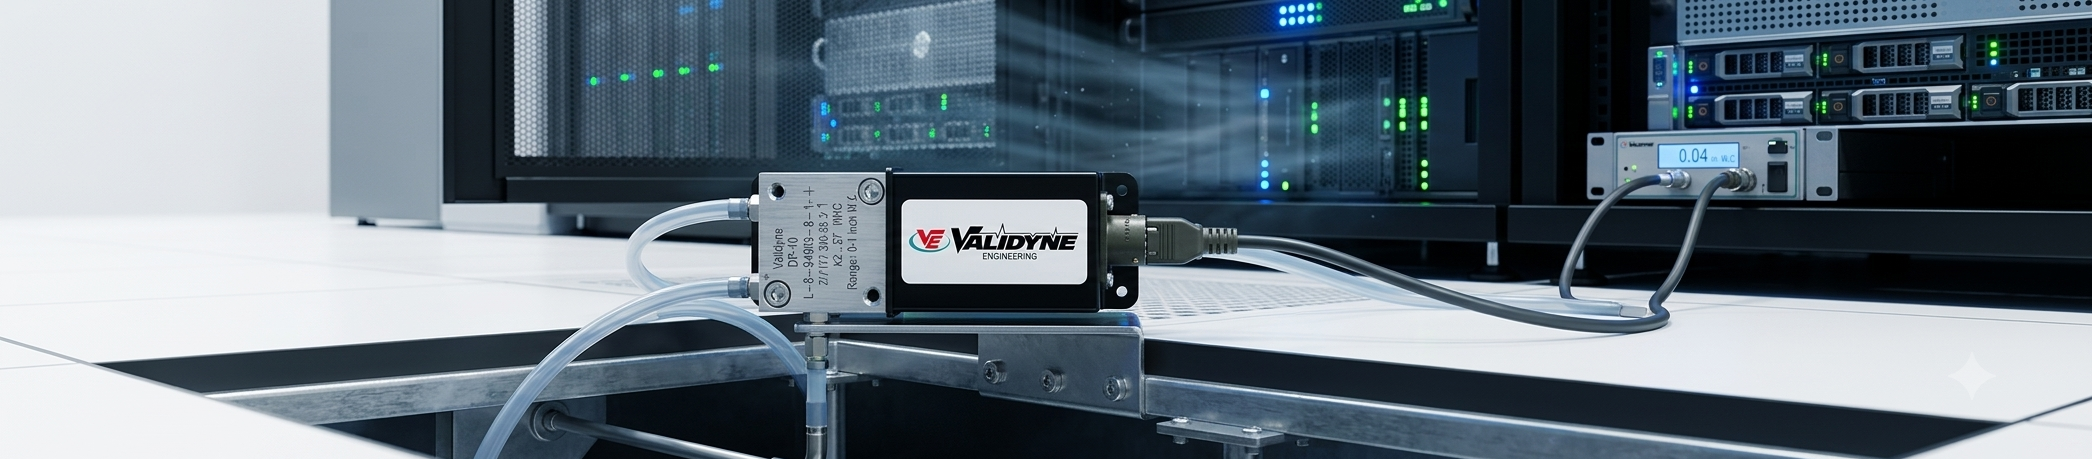
Data Acquisition
Why Data Centers Need Precision Differential Pressure Sensors and How to Choose the Right One
Data centers are, at their core, thermodynamic challenges. Every watt of computing power generates heat, and that heat has to go somewhere — fast, reliably, and efficiently. The infrastructure that…
Aerospace
Pressure Measurement Challenges in Aerospace Engine Test Cells and How VR Sensors Solve Them
5 Major Pressure Measurement Challenges in Engine Test Cells 1. Extreme Vibration Engine startups, compressor stalls, and turbine harmonics generate intense shock loads that can push conventional sensors to their…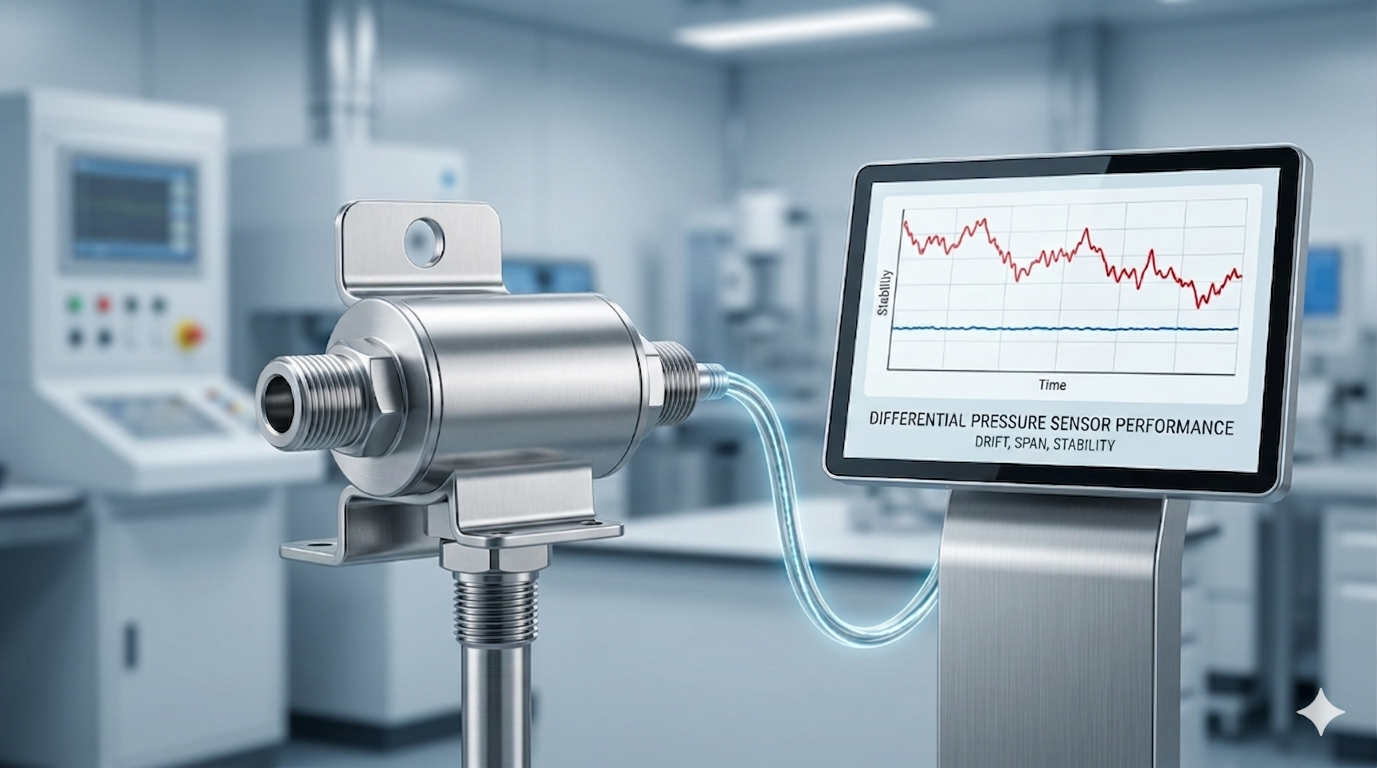
Aerospace, medical, Pressure Measurement
Understanding Zero Drift, Span Shift & Long-Term Stability and Differential Pressure Sensors
Pressure sensor accuracy isn’t determined only at the moment of calibration. Over days, weeks, or years, every pressure sensor experiences some degree of zero drift, span shift, and long-term stability…Comments are closed